Introduction
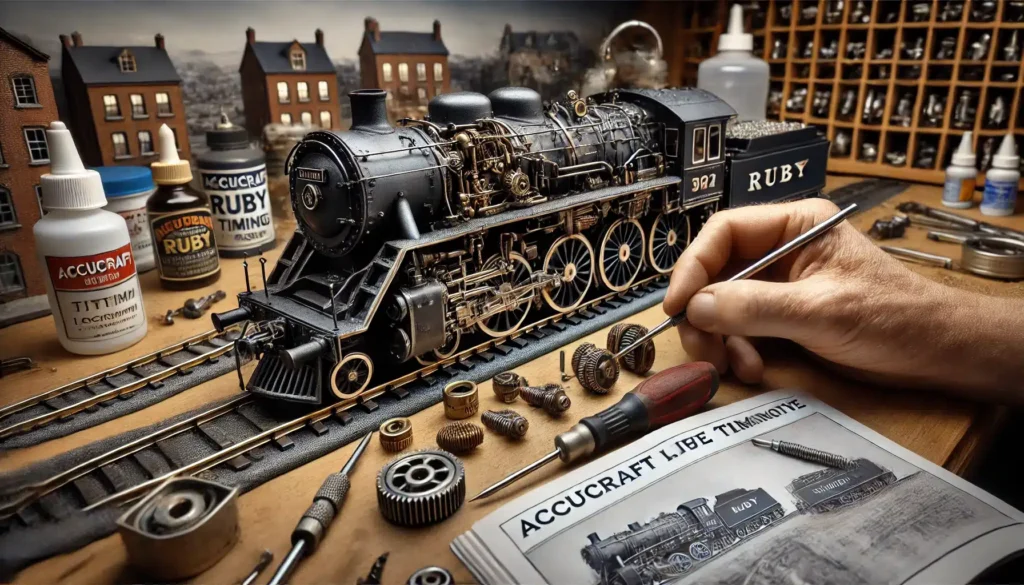
How to set the timing on an Accucraft Ruby is a question that many model railway enthusiasts and hobbyists frequently ask. The Accucraft Ruby is a popular steam locomotive model, and properly setting the timing is crucial to ensuring it runs smoothly.
Whether you are a beginner or an experienced hobbyist, this guide will walk you through the process step-by-step. By following these instructions, you can fine-tune your Accucraft Ruby to optimize its performance and enjoy a smoother, more efficient experience with your locomotive.
What is the Accucraft Ruby?
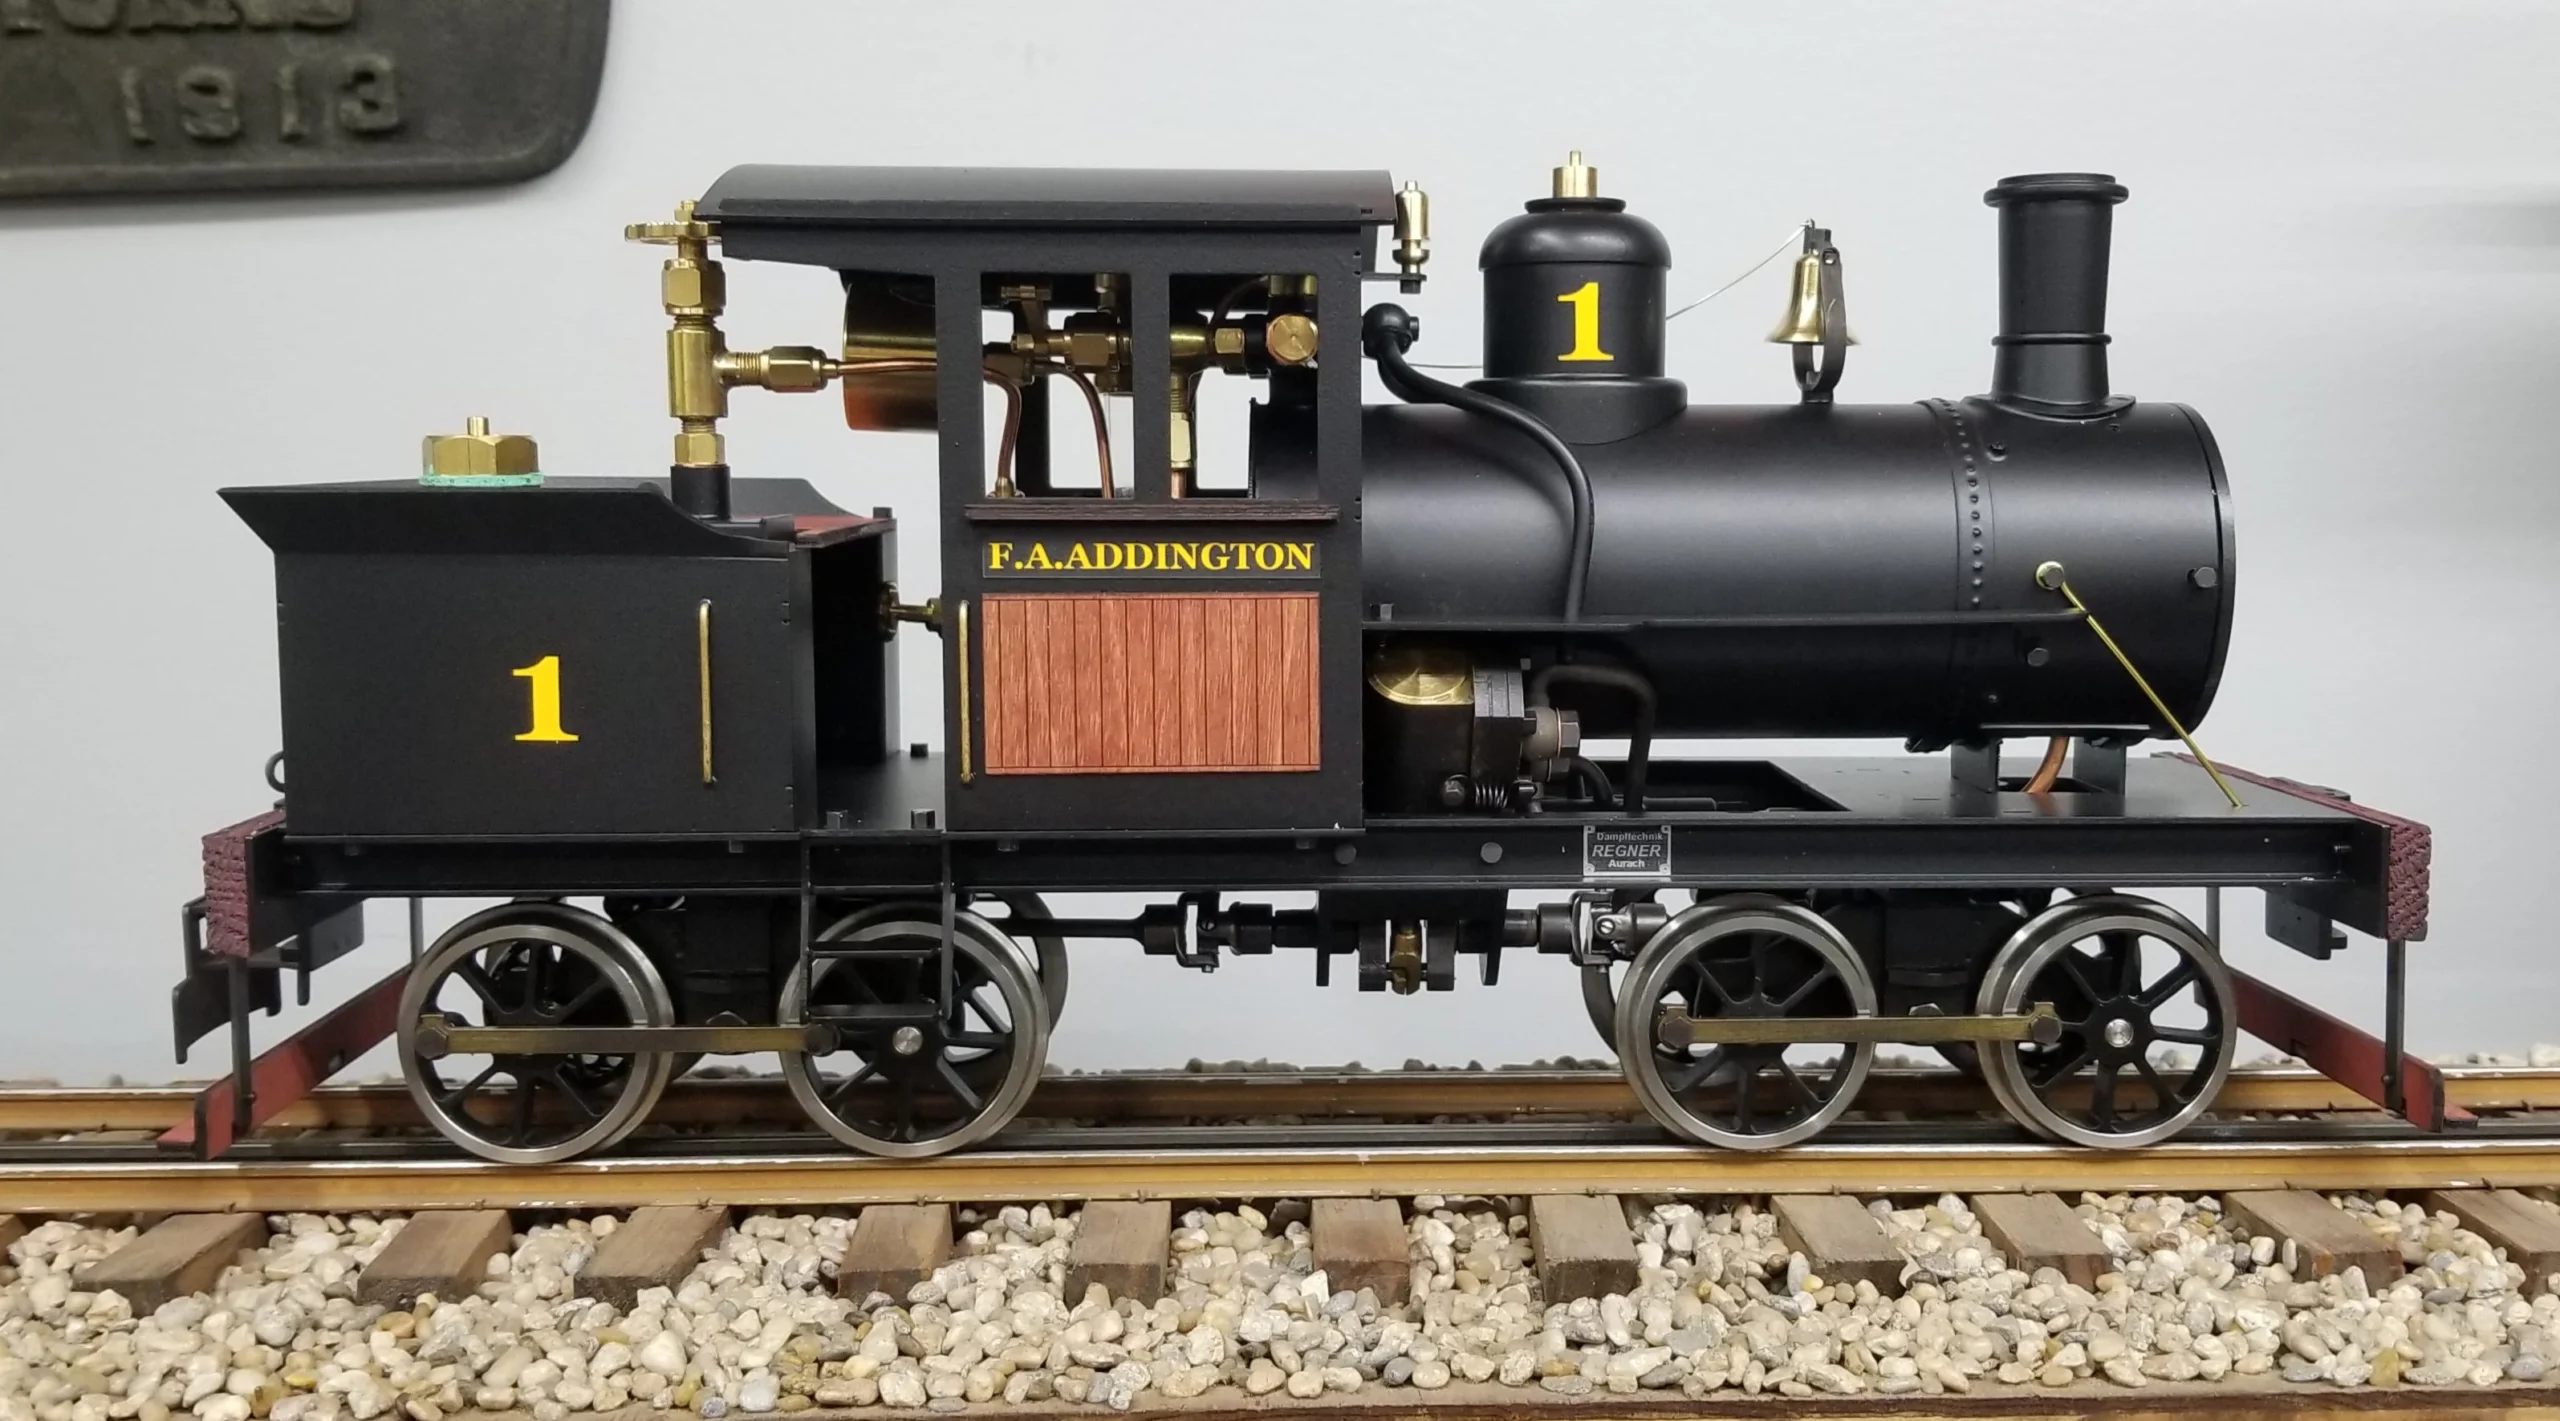
Before diving into the technical aspects of setting the timing, it’s important to understand what the Accucraft Ruby is. The Accucraft Ruby is a live steam model locomotive, typically used in garden railways.
It’s known for its realism and solid performance, making it a favorite among steam engine enthusiasts. These models are designed to operate using steam, and the precision of internal components like the timing mechanism plays a significant role in how the locomotive performs.
Why Is Setting the Timing Important?
When you’re learning how to set the timing on an Accucraft Ruby, understanding why it matters is key. The timing of a steam engine refers to the precise coordination of various moving parts to ensure the steam engine operates efficiently.
If the timing is off, the engine may run sluggishly, lose power, or even fail to run altogether. Accurate timing is critical to prevent issues such as backfiring, poor acceleration, or erratic speed.
Tools You Will Need
To adjust the timing on an Accucraft Ruby, you’ll need a few tools to ensure the job is done properly. Here’s a list of essential tools:
- Small screwdriver: For removing and adjusting screws.
- Timing gauge: To help measure the timing of the locomotive accurately.
- Pliers: Useful for handling small parts.
- Lubricant: Keep the engine components running smoothly during adjustments.
- Torch: For illuminating dark areas of the engine.
Having these tools ready will make the job easier and help avoid frustration.
Step 1: Remove the Boiler Cover
The first step in learning how to set the timing on an Accucraft Ruby is to remove the boiler cover to access the internal components of the locomotive. Use a small screwdriver to unscrew any fasteners that hold the boiler cover in place. Once the cover is removed, you should have full access to the cylinder and valve gear, which are essential for timing adjustments.
Be careful not to lose any small parts while you remove the cover. It’s a good idea to place all screws and parts in a safe location for easy reassembly later.
Step 2: Locate the Timing Mechanism
Now that you have access to the engine’s interior, you need to locate the timing mechanism. The timing is controlled by the valve gear, which regulates when steam enters the cylinders. On an Accucraft Ruby, this will typically be a small lever or rod connected to the valve.
Make sure the engine is turned off and the pressure has been released before handling the valve gear. This ensures you won’t accidentally cause any damage or get burned by residual steam.
Step 3: Check the Existing Timing
Before making any adjustments, it’s a good idea to check the current timing settings. To do this, slowly rotate the flywheel by hand while watching the movement of the valve gear. You should see the valve open and close in coordination with the piston’s movement.
At this point, you can inspect if the timing is too early, too late, or just right. If the steam is entering the cylinder too early or too late, it could cause poor performance. It’s essential to have a reference point for your adjustments.
Step 4: Adjust the Valve Gear
To adjust the timing, you’ll need to alter the position of the valve gear. This can typically be done by loosening a screw or nut that holds the gear in place and adjusting its position. Use a small screwdriver or wrench to carefully loosen the fasteners.
Once the fastener is loosened, gently adjust the valve gear to achieve the desired timing. If the steam enters the cylinder too early, move the valve gear slightly back. If the steam enters too late, move the valve gear forward.
After adjusting the valve, re-tighten the fasteners to secure it in place. Be sure not to overtighten, as this could cause damage to the valve gear.
Step 5: Use a Timing Gauge
After making initial adjustments, it’s a good idea to use a timing gauge to verify the accuracy of your changes. A timing gauge is a specialized tool that helps you measure the exact timing of the valve gear’s opening and closing. Place the gauge on the engine’s valve and check for precise alignment with the piston stroke.
Adjust the valve gear further if needed until the timing is within the correct range. Be patient during this step, as small adjustments can make a significant difference in the locomotive’s performance.
Step 6: Test the Engine
Once you’ve made the necessary adjustments to the valve gear and verified the timing with the gauge, it’s time to test the engine. Reassemble the boiler cover and securely fasten any screws you removed earlier. Ensure that the engine is clean and lubricated before firing it up.
Next, fill the boiler with water, turn on the fuel, and light the burner to generate steam. Once the steam pressure has built up, slowly throttle the engine and observe how it runs.
Pay attention to the engine’s behavior. If it’s running smoothly, with consistent power and no signs of backfiring or jerky motion, your timing adjustments have likely been successful. If the engine continues to perform poorly, return to the timing mechanism and make additional small adjustments.
Step 7: Fine-Tuning for Optimal Performance
Sometimes, it takes more than one attempt to get the timing just right. How to set the timing on an Accucraft Ruby is a process that requires patience and fine-tuning. As you test the engine, you may need to make minor adjustments to ensure smooth operation and maximum efficiency.
Pay close attention to the acceleration and deceleration of the locomotive. It should start and stop without hesitation, and the engine should maintain a steady speed throughout its operation.
Step 8: Reassemble and Store Your Accucraft Ruby
Once you are satisfied with the timing and performance, carefully reassemble the engine. Replace any parts that were removed during the adjustment process, ensuring everything is securely fastened. Clean the engine, lubricate any moving parts, and store it in a safe place when not in use.
Regular maintenance and timing adjustments will keep your Accucraft Ruby in excellent condition for years to come. It’s also a good idea to keep a maintenance log, noting the timing adjustments you’ve made, as well as any changes in performance over time.
Common Timing Issues and Troubleshooting Tips
While adjusting the timing on your Accucraft Ruby, you may encounter a few common issues. Here are some troubleshooting tips to help you address them:
- Backfiring: If the engine backfires, it usually indicates that the timing is too advanced. Try moving the valve gear slightly back to delay steam entry.
- Stalling: If the engine stalls or runs sluggishly, the timing may be too late. Move the valve gear forward to allow steam to enter the cylinder earlier.
- Irregular Speed: Irregular or jerky motion often means that the timing is inconsistent. Recheck your adjustments and use the timing gauge to fine-tune.
Conclusion
Knowing how to set the timing on an Accucraft Ruby is essential for getting the best performance out of your steam locomotive. By following the steps outlined in this guide, you can ensure that your Accucraft Ruby runs smoothly and efficiently.
Remember to take your time, use the proper tools, and be patient with the adjustments. With a little practice, you’ll be able to master the timing process and enjoy your model train to the fullest.